STRAFE & PEEK 3DTRAINER
A first-person FPS aim trainer built around peek practice. Humanoid peekers lean out from cover for a brief window — pre-aim the angle and land the shot before they slip back behind it.
Peek Practice for the Way FPS Duels Actually Happen
Most clicking drills hand you a target that just sits there. A real engagement does the opposite: an enemy peeks an angle, shows for a heartbeat, and tucks back behind cover. This FPS aim trainer rebuilds that moment in first person — four humanoid peekers hold positions around an arc of cover, expose for a short window, and retreat whether you fired or not.
Because the window closes on its own, peek practice rewards a different habit than open-field clicking. You are not hunting a stationary dot; you are holding an angle, predicting where a head will surface, and committing the instant it does. Mouse look is pointer-locked, so every reps trains the same camera control you use in-game.
How strafe & peek works
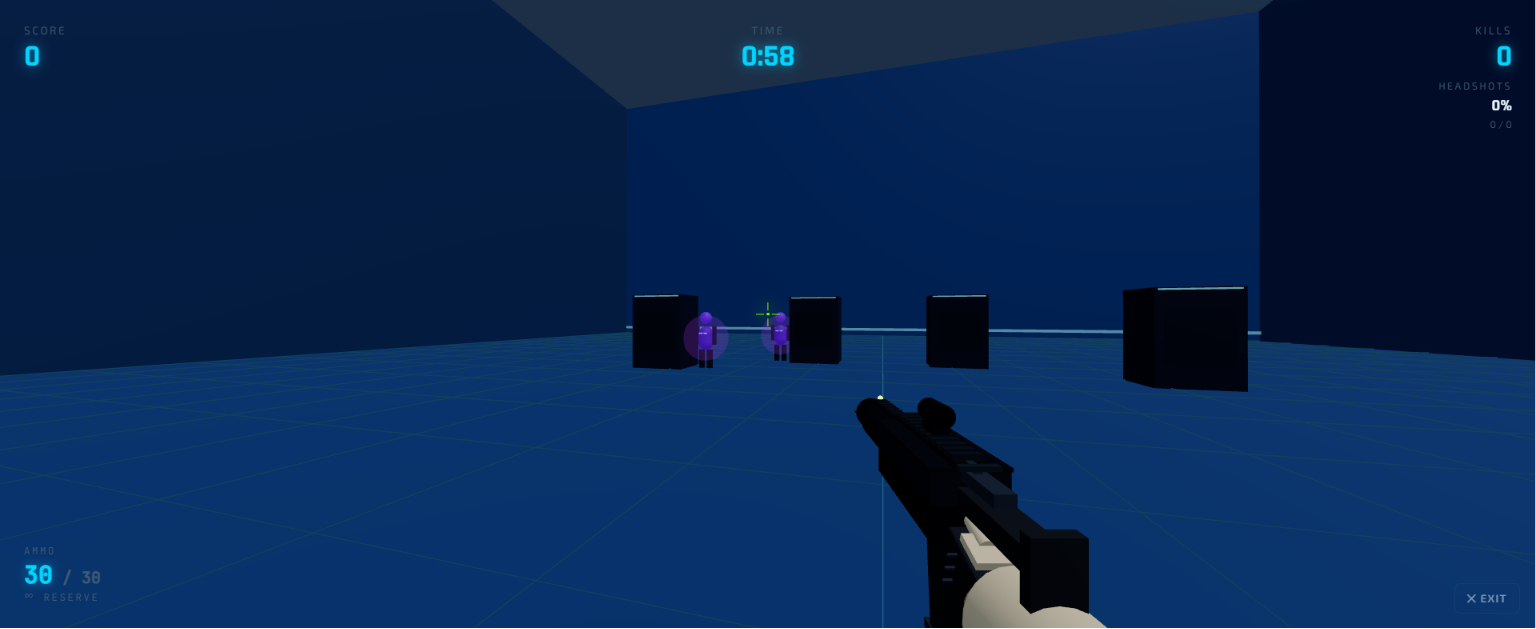
You face an arc of cover with four peekers waiting behind it. Each one leans out from the edge of its cover, stays exposed for a short window, and then pulls back. Your job is to read which edge is about to show, settle the crosshair on it, and fire inside that window — a body shot counts, a headshot counts for more.
The exposure is deliberately brief, so you cannot wander the screen looking for movement and still react in time. The loop is tight and repeatable: hold the angle, spot the peek, fire, reset to the next likely edge. Over a session that loop is what you are actually grooving, not raw clicking speed.
Pre-aim and the peeker's advantage
Whoever peeks first sees the defender before the defender can react — that head start is the peeker's advantage. The only reliable counter is to deny it with pre-aim: park your crosshair where the head will appear so the shot is half-finished before the target even shows.
The math is unforgiving. The peek window is shorter than a cold human reaction, so if your crosshair starts on the body or off the angle entirely, you lose the time you spend correcting and the peeker is gone. Aim at head height, on the exact edge of the cover, and you turn a reaction problem into a simple confirm-and-click.
Reaction vs. pre-aim
Pure reaction means waiting to see the target, then moving the crosshair onto it. Against a short exposure that path is too slow — by the time your hand catches up, the window has closed. Pre-aiming flips the order: the crosshair is already there, so the only thing left is the trigger pull.
In practice that means treating crosshair placement as the skill, not flicking. Keep the dot at head height and snapped to the edge a target will emerge from, then move it edge-to-edge as your read of the arc changes. When a peek comes, you are confirming a shot you already set up rather than building one from scratch.
Common strafe & peek mistakes
- Aiming at the body, not the head: a chest-height crosshair turns every peek into an upward correction. Hold the dot at neck-to-head height so a clean kill needs no vertical adjustment.
- No pre-aim: resting the crosshair in dead space between cover means you start every duel late. Always have it parked on an edge a target can use.
- Panic-spraying the peek: dumping shots the instant something flickers wastes the window and pulls your aim off the head. Commit to one well-placed shot, then reset.
- Drifting off the angle: chasing a target that already retreated leaves you out of position for the next peek. Pull back to the most likely edge instead of following the one that just hid.